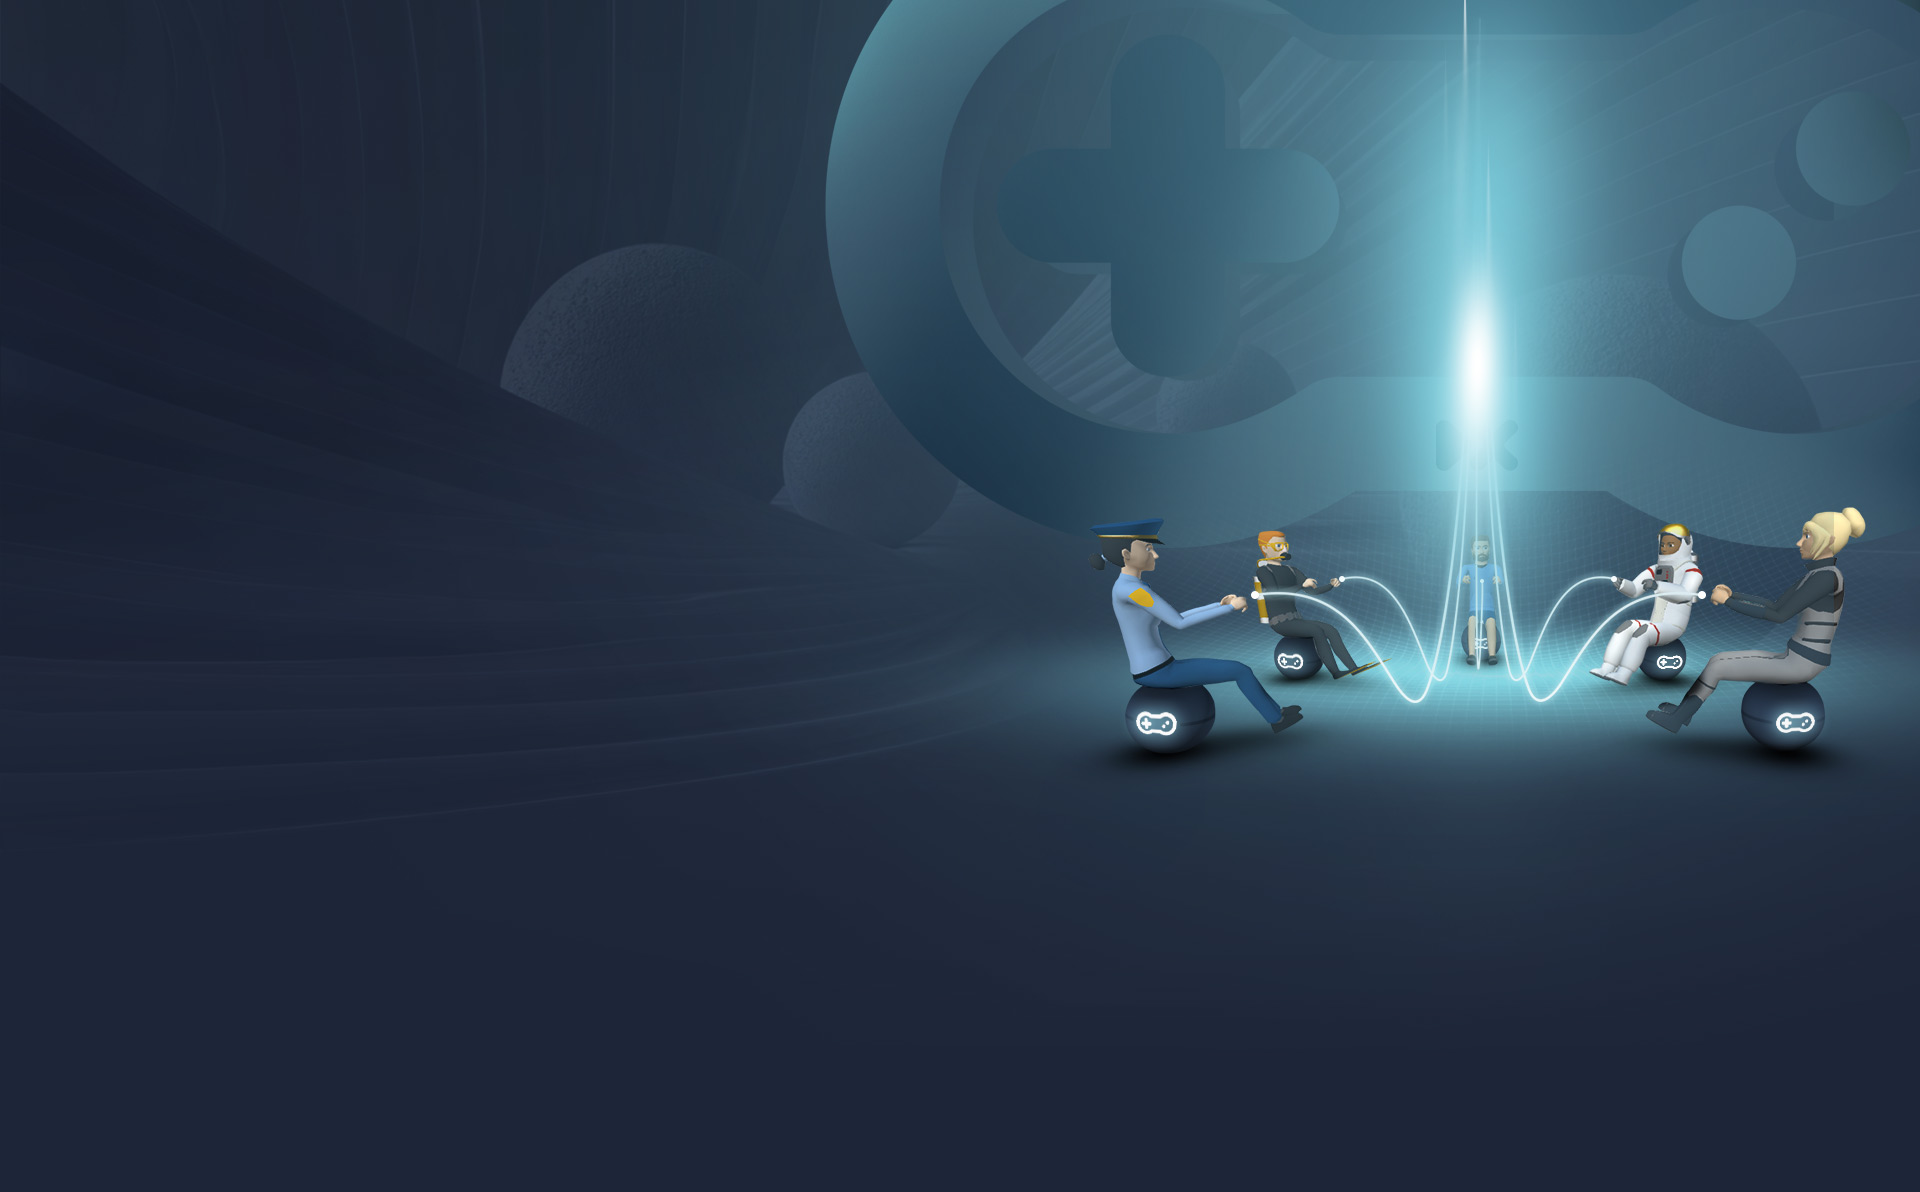
In multiplayer mode, multiple users connect to the same session so they can see and interact with each other’s actions. Think of it like a shared virtual room, everyone inside can see the same things happening live.
Every multiplayer session has two roles:
- Host player: the one who creates and controls the session.
- Client players: the ones who join a session started by the Host.
Usually, the Host generates a link and sends it to other Players so that they can join the session.
To start a multiplayer session, you need to call:
Multiplayer.startSession
The Host start a new session, while Clients use the same method to join an existing one.
In other words, both sides call Multiplayer.startSession: the host creates a new session, and the clients connect to that session using the host’s link.
To do so, create a TypeScript script and type the following:
async function startMultiplayer() {
await Multiplayer.startSession();
if (Multiplayer.isClient) {
Debug.log("Joined to the multiplayer session");
} else {
Debug.log("Started a multiplayer host, link " + Multiplayer.joinLink);
Input.copyToClipboard(Multiplayer.joinLink);
}
}
startMultiplayer();
Now start the space and open the browser console. You’ll see a message like this:
Started a multiplayer host, link
https://nova.delightex.com/experiences/abcdefg?mp-sid=zxcvbn
The link is already copied to your clipboard, so you can open another browser window and paste the link there. You’ll then see another message in the console:
Joined to the multiplayer session
That’s it! You’ve just created your first simple multiplayer game.
Note: You can’t invite other players directly from your editor. You first need to publish your Experience, either to the Gallery or by sharing it through a direct link.
In the next lesson, we’ll explore how synchronization works, so you can understand how data is shared between players and learn how to control what gets synchronized — allowing each player to have their own unique perspective while still staying connected in the same world.